Thursday, June 28, 2012

First Snowfall in Minnesota

No, fellow hobbyists, I'm not in Minnesota, and it's not snowing, there OR here in Arkansas in July. But I saw this picture on Pinterest, labelled "First Snowfall, Duluth, Minnesota," and the colors were so striking that I had to drop what I had planned for my nails that very night and do my best at recreating it.


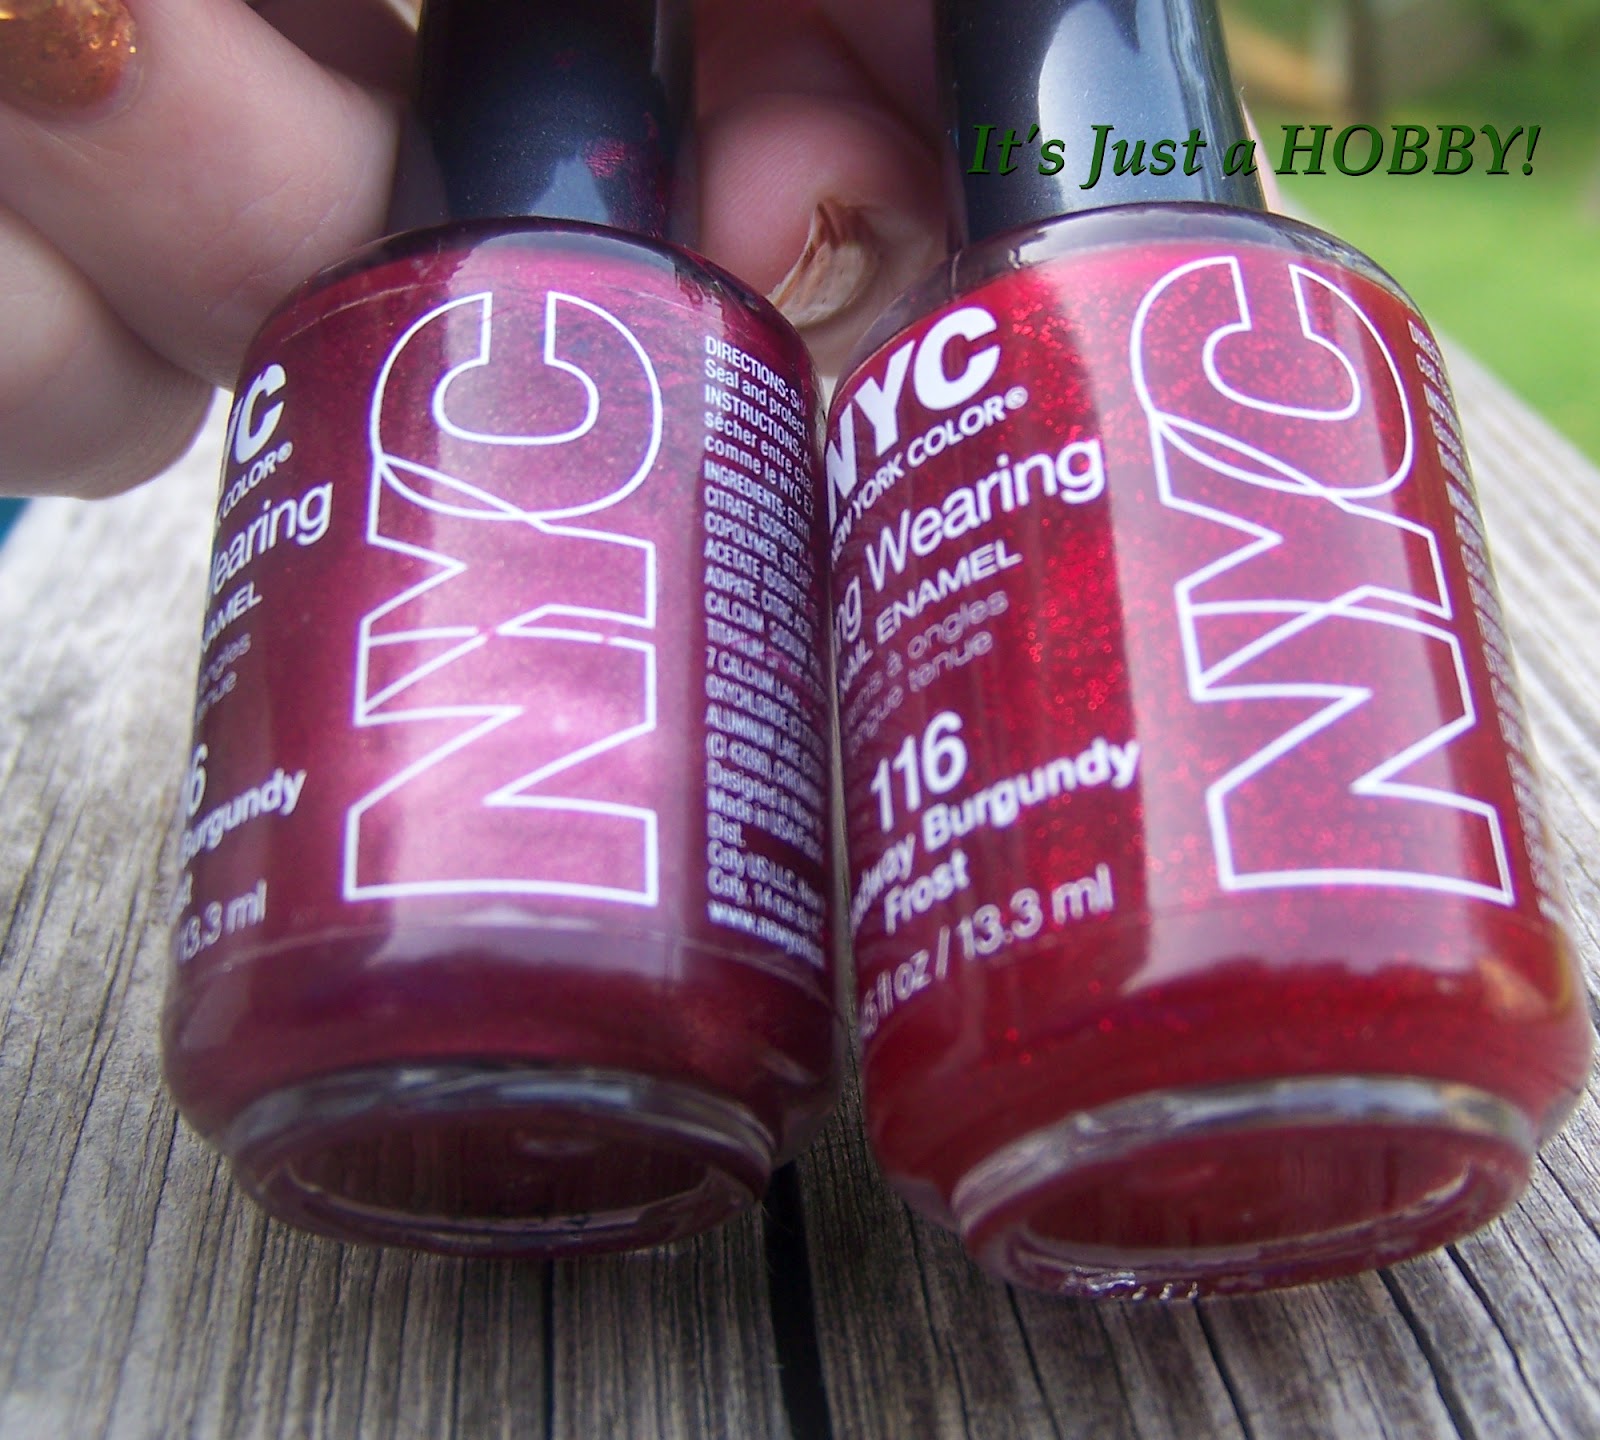
I guess I did a decent job at it, as some of my co-workers this morning have said they think it might be their favorite manicure that I've done thus far. It's a rather Monet interpretation...but I do love the way the colors came out! I used a base of Sinful Colors Snow Me White (how appropriate!) and then added a layer of China Glaze Luxe and Lush to mimic the shine and sparkle of sunlight on snow. I then used the saran wrap technique of blotting on the leaves, both in the trees and on the ground, using (in this order) Primark Beauty Neon Orange, Sinful Colors Courtney Orange, and NYC Broadway Burgundy Frost. A thin striping brush with Pure Ice Magic produced the tree trunks, and voila! An early snowfall on a brilliant fall landscape. I did dabb a bit more Courtney Orange over some of the nails where the tree trunks seemed too crisp.


Given the few numbers of people I have following my blog, I haven't asked a whole lot of questions of you guys, and I figure most of you are other nail art people. But if any of you ever want me to generate a tutorial for anything you see me do, just let me know. In the short-term, I'll point you toward where I learned it from, but I'll take a note and create a tutorial for anything you ask for just as soon as I can. The thing is that when I want to learn how to do something, Google is my friend, and I search out three or four different tutorials for it and then amalgamate them all in my head down to whatever works best for me. However, I do realize that some of you either might not know where to look, or just want to ask me, and I thought I'd put it out there that anybody coming by can ask! I have to remind myself not to assume that just because I read a lot of nail art blogs doesn't mean everybody does...and sometimes seeing all the experts out there I forget that one of the reasons I started this blog wasn't just to keep a record of my nail art, but also to show a progression of skill from beginner to (hopefully, someday!) an advanced skill level...and to help other newbies like myself be less intimidated by the amazeballs artwork out there and go, "Hey, if she can do that, maybe I can, too!"

So yeah, if maybe you're less intimidated asking me how I did something than you would be asking one of the awe-inspiring nail artists out there, please do! And if there's a technique out there you've seen going around and you'd like to see me tackle it and maybe show you an "Idiot's Guide to Nail Art" version, I'd love to give it a try.


Monday, June 25, 2012

Sassy Lacquer Giveaway

No one knows what's going on with the indie polish maker behind Nerd Lacquer. No one's heard from her in quite a while - the Etsy shop is down and no emails have been received in months. Sassy Lacquer has  duplicates of four of Nerd Lacquer polishes, and in her awesomeness has decided to share them in a giveaway rather than raking in the dough she could get selling them on EBay! Woot for us! So click here or on the picture to head over to her giveaway, and be sure to spend some time browsing her archives if you've never seen them before, because she's got some great swatching going on! :)


MSMD Monday Mani

This is the latest picture to be added to be Pinterest nail art board, and so when I was trying to figure out what to do with my nails this time around, I decided I could make a rendition of this. I had to leave out certain elements because my nails are just not this long, so if I added glitter and rhinestones it would be way too busy! :)


I also just got a new polish in the mail, Rimmel Burgundy Flirt, and I thought it would be interesting to use it for this. I hardly ever have red nails! Please forgive the condition of my cuticles - my poor hands have been having a rough week! And I'm out of the Jack Black lotion I had. See me pout. :(


So after a base of my first Rimmel polish ever, I used striping tape to block off two lines, and put China Glaze Liquid Leather over the bottom portion, and Sex on the Beach for the center pink stripe. I also put Liquid Leather on the bottom half of my accent nail. I put one coat of Max Factor Fantasy Fire over the Liquid Leather, and across the entire accent nail. The diagonal line where the base color changes from burgundy to black on my accent nails is a lot more prominent in real life, but the entire manicure is such a dark color, I really couldn't capture it on the camera. I used Sinful Colors Secret Admirer to stripe both sides of the pink area, and then used a detail brush to draw the spirals.

I might have had better pictures if the sun had been shining the day I did these, but the outdoor pictures still came out clearer than the indoor lighting.


I also had a bit of a problem with a nail lately. The severe flaking that was in the middle of my nails when I used the Nail Life base coat have now grown out past my nail beds. This is why both of my thumbnails are so short - they both broke off nearly as soon as the weak spot grew out. This time, however, I was having problems with the middle nail on my right hand. First the squoval corner broke off, so I rounded the end. Then I got a crack across the end, but it didn't quite break. So I used the tea bag method for the first time to patch it so it would stay the same length as the rest of my nails...but for some reason something about what I did made the shape of my nail...well, obviously I don't think my nail actually changed shape, but the appearance of it changed. I have no idea why, though I'll probably figure it out some time over the next few weeks with changing manis.


Friday, June 22, 2012

Fashion Fuschia

Okay, these are more pink and purple than fuschia, but the alliteration was too cute to pass up! :)

My friend V had another job interview, so she came by the night before for a manicure to match her clothes. I tried taking a picture of this fabric in a half-dozen different lighting situations and couldn't get the color to come out accurately, but this lighting came pretty close.


We hit my swatch sticks to match up colors and we got the closest match with China Glaze Reggae to Riches and L'Oreal Violet. I experimented with a few different patterns on a swatching wheel before we decided what to go with. I tried using a straw to get the half-circles but while I would have liked the result for a playful manicure, it didn't really come out looking professional, so we decided against it for a job interview. I also tried to do some freehand curves, and that just was a total nail fail. We decided it was better to match the geometric starkness of the stripes rather than try to replicate the curves, so we went with a striping tape mani.

I started with a base coat of Milani Whitest White, then laid down some striping tape on a diagonal. L'Oreal Violet on the cuticle end of the nail, China Glaze Reggae to Riches on the tip, and China Glaze Liquid Leather in a stripe between the striping tape strips. Macro pictures are not forgiving to precision nail art, but it looked pretty darned good in real life!


Tuesday, June 19, 2012

Week 25: Rainbow/Pride

Hello, my fellow hobbyists! This week's theme in the Year's Challenge is "Pride/Rainbow mani". I couldn't think of any way to make this more Pride and less Rainbow other than adding LGBT symbols, which I think might have been just a bit too much for my office. If you have any suggestions, please share. I'll probably facepalm for not thinking of something, but I've got a few nails left - I might add your suggestion! In the meantime, here's my rainbow!


I'm not real sure what happened to the cloud on my index finger. That's two full layers of Milani Whitest White over those stripes, and it was fully dry and opaque when I put my Seche Vite on it. I noticed before I went to bed last night that the green and purple stripes were very faintly visible as dark lines...but this morning when I got up, there's full blown green and purple lines there! I didn't really have time before work to add another layer of white and another top coat, so this is what you get. (Of course, one of my co-workers suggested that I not admit to that being an error and just call it a cool special effect! ;)

A few weeks back, I realized that the only pale blue I have is my Sally Girl Coconut, and it's a grey-toned blue. I wanted a nice light baby blue, so I asked for suggestions on Polishaholics Anonymous. I got a list of great suggestions, but none of them were exactly what I wanted. I was planning on picking up Essie Borrowed and Blue as well as China Glaze Bahamian Escape, though the Essie was really lighter than I wanted, and the China Glaze darker. Then I got ahold of a $10 Copious credit, and lo and behold if I didn't find a bottle of Color Club Take Me To Your Chateau, which hadn't even been on the list of recommendations! The swatches I saw on the 'net varied a bit, but I thought it had a good chance of being what I was looking for, so I bought it. (Besides, I couldn't go wrong with polish for a penny!) It turned out the polish gods were favoring me, because it's exactly what I was looking for! 


Look at that gorgeous creaminess! It's opaque in one coat, but a little thick and streaky, but two coats evens it out just perfectly. I wanted a shimmery rainbow, so I picked out Zoya Karina, Sinful Colors Courtney Orange, China Glaze Solar Power, Sinful Colors San Francisco, Pure Ice Strapless, and Sinful Colors Daddy's Girl. While my striping may lack some professionalism, those colors don't! They just POP! My nails are so awesome today - I keep stealing glances at them as they dance over my keyboard.

On my other hand I wanted to try some different things, so I experimented a bit. I wasn't happy with my attempt at a fishtail braid (next time, bigger stripes and more drying time between stripes!) but my middle nail turned out better than I could have hoped for.


I used the same striper brush on the fishtail as I did on the rainbow on my left hand, and really, the stripes are too narrow for the pattern to show. It just looks like a mash of colors, and it's really dark with the yellow really popping out more than it ought. To make the blended nail, I did two colors at a time, like you do for a one-stroke flower. A dot of red on my palette next to a dot of orange, put both on my brush at the same time, and swipe it across my nail. I made sure to go over each stroke a couple of times to blend the colors together, and then I cleaned my brush and did the next section with orange and yellow at once. The orange section actually looks more orange and less muddy brown in real life, but it's just a gorgeous feathered texture, a wind-blown rainbow across my nail!


Saturday, June 16, 2012

NYC Broadway Burgundy Frost - Old Vs. New

I've had a bottle of NYC Broadway Burgundy Frost sitting in my stash for longer than I've been doing nail art. This is one of those polishes that I have no clue when or where I bought it or how long it's been sitting in a plastic bin under my bathroom sink for all those years that I wore polish maybe once or twice a year. But given that the bottle is nearly half-empty, it's been quite a while!

You probably won't remember, but I've been looking for a red micro-glitter since I did V's nails for Memorial Day. The needle marble was outlined with Pure Ice Strapless on one side and a frankened red glitter on the other, because I don't have any red glitter polishes. I've been looking since then, and I'm not sure that one exists! The only suggestion I've been given on Facebook is China Glaze Ruby Pumps, which I'll be buying the next time I polish haul, but I've also been looking around.

I was at a different WalMart a few weeks ago (to buy my nail polish shelf that I posted about earlier) and I took the time to peruse the polish shelves. They had several brands that I'd heard Wally World carried, but weren't at my local store, including Hard Candy (I picked up Beetle - how could I not?!) but they also had more colors of some of the brands I do see regularly, such as NYC. I saw one that looked like it might be what I was looking for...it's a rich medium-red base, and the bottle definitely looked like there might be enough glitter in there to match the PI Strapless...but then I saw the name. Broadway Burgundy Frost?? WTF? I already have that color, and it doesn't look anything like this one.

I bought it anyway, figuring that I was either misremembering the name of the polish I owned, or one of them was mislabeled...and worst case, if they actually did look the same when I got it home, I could put it in my giveaway stash.

Even the barest glance showed these two polishes were very, very different...but it took a lot of trial and error before I found a lighting situation where the differences would show up on camera!


Here they are, 2 coats each, on clear swatch sticks:

Thursday, June 14, 2012

Week 24: Flag Manicure

This year's challenge theme for this week is flags, and, as a co-worker pointed out to me, today is Flag Day here in the U.S. (which I assume is what prompted the scheduling of this theme?) While I live in America and I'm proud of my country (its history at least, if not the current policies and directions) I decided not to do an American flag, simply because it's so typical. After all, I did red-white-and-blue for Memorial Day, and I fully expect I'll have the stars and stripes on my nails come July 4th. I decided I wanted to challenge myself a little more than that this week. And a challenge it was! I think in retrospect I should've done these flag designs on plastic and transferred them to my nails. The end result is cute enough, but I'm seriously disappointed in my skills at drawing flags, sideways and upside down, on my fingernails. I intended for all the flags to be upright when my hand was held in the typical picture pose, but I accidentally did one on my right hand upside down, and I just totally forgot which way my thumb would be angled when I was done, so that one's upside down, too...though I apparently neglected to take a picture of the left hand with the thumb showing. ^_^


So here's the explanation behind the flag choices: the middle and ring fingers on my left hand are my genetic history, and the ones on my right are my personal history. My thumb, of course, represents where I am now: that's the flag for the city of Fayetteville, Arkansas.


My mother used to call herself a European mongrel when asked her family history. My dad, however, can trace his family tree back to Wales pretty clearly (his sister was interested in genealogy for a while) and his grandmother was full-blooded Cherokee. So that's the Welsh flag on my middle finger and the Cherokee Nation flag on my ring finger.


The entire manicure started off with a base of two coats of Milani Whitest White, except for my left thumb, which started with Sally Hansen Cardinal. Then the Cherokee flag was done with Sally Girl Orange, dots of Neon Primark Neon Yellow, and little rings of Sinful Colors Exotic Green. I didn't even attempt to make tiny little stars, knowing how badly I'd mangle it, so I represented all the stars with dots, each topped with a piece of yellow glitter. The Welsh flag was also done with Exotic Green, and then my attempt at a dragon was drawn with Cardinal and some China Glaze Liquid Leather.

The Fayetteville flag was also done with Neon Yellow, followed by a circle of Whitest White, some stripes of Sally Hansen Blue Me Away! and then circles and the mountain done in China Glaze Frostbite.


My personal history can be portioned off into cities: I spent the first eighteen years of my life growing up in a suburb of Kansas City, Missouri (Go Independence, the real gateway to the West!) so that's the KC, MO flag on my middle finger. One year wandering around (two semesters at college, a few months living in a St. Louis suburb, a few months in Louisiana) before my new husband got a new job, and then the next eighteen years of my life were spent in the Dallas, Texas area. (I've lived in I'm not sure how many cities in the Dallas/Ft. Worth metroplex, including Dallas itself twice.) So that's the Dallas flag on my ring finger, admittedly upside down compared to the KC flag. And then 5 years ago I moved here to Fayetteville, Arkansas. Growing up in KC led me to frequently comment that Dallas didn't have trees, it had landscaping. I missed trees desperately all those years. Being back in the Ozark mountains that I spent so much of my childhood summers in is amazing for my soul.


Both flags were done with Sally Hansen Cardinal and China Glaze Frostbite, with just a tiny bit of Liquid Leather for the fountains on the KC flag.

I thought with the number of flags in the world that use stars, that Windestine's Star Light (the pink on my left hand) and Star Bright (the blue on my right) were appropriate to use for the remaining fingers.

I hope you liked my attempt at a flag manicure and weren't too bored with the personal story that came along with it. Check out the list of challenge themes along with other bloggers who are playing along at Jennafroggy's blog, I'm Still Thinking.


Tuesday, June 12, 2012

Batteries Not Included

The only thing better than nail mail is surprise nail mail! Well, I knew I had placed an order from Spooky Bones for an upcoming exchange in my birthday group (not telling which month it's for, of course! ;) but I had totally forgotten that I'd ordered a polish for myself at the same time! Wasn't *that* a pleasant surprise?? Of course, I had to pop it on my nail the very next day. Copper Top "Batteries Not Included" is a gorgeous copper, of course, with every shape of copper glitter you could possibly think of thrown in there. Several sizes of hexes, bars, diamonds, and flakes! As one of the pictures shows, the diamonds (at least) are holographic. All I know is that it's gorgeous. Although I will admit to having a preference for glitters in clear polish rather than tinted - I dislike having the glitters covered in the polish color.

To go with this gorgeous polish, I started with a base of 2 coats of Pure Ice Gold Mist. I added one coat of Copper Top on my nail and ring fingers, and then using a striper brush and a dotting tool, added the design on the rest of the nails in China Glaze Harvest Moon. I've gotten a lot of compliments on this one around the office.


I love the way this mani shines at different angles. It doesn't have to be a duochrome to enjoy the play of light on a glitter!


What are your favorite Indie polish companies? Do you have a ♥-on for any of the lesser-known ones? (Like Windestine or Victoriana as opposed to Lacquistry or Cult Nails?)